
How long does it take for resin to harden? It depends on which resin you’re using, how you mixed it, how thick your pour is, and what’s happening in your workspace.
Each resin type cures through a different chemical mechanism, which is why the timelines vary so dramatically. Epoxy relies on a slow two-part cross-linking reaction. UV resin activates only under ultraviolet light and can cure in under a minute. Polyester resin uses a catalyst-driven reaction that moves fast but demands precise control. Understanding which type you’re working with is the first step to getting predictable results.
Whether you are designing a detailed Pokemon resin lamp or launching your very first DIY craft, this guide covers cure times for all three, explains what actually drives those timelines, and gives you practical ways to troubleshoot when things don’t go to plan.
What Are The Five Stages of Resin Curing?
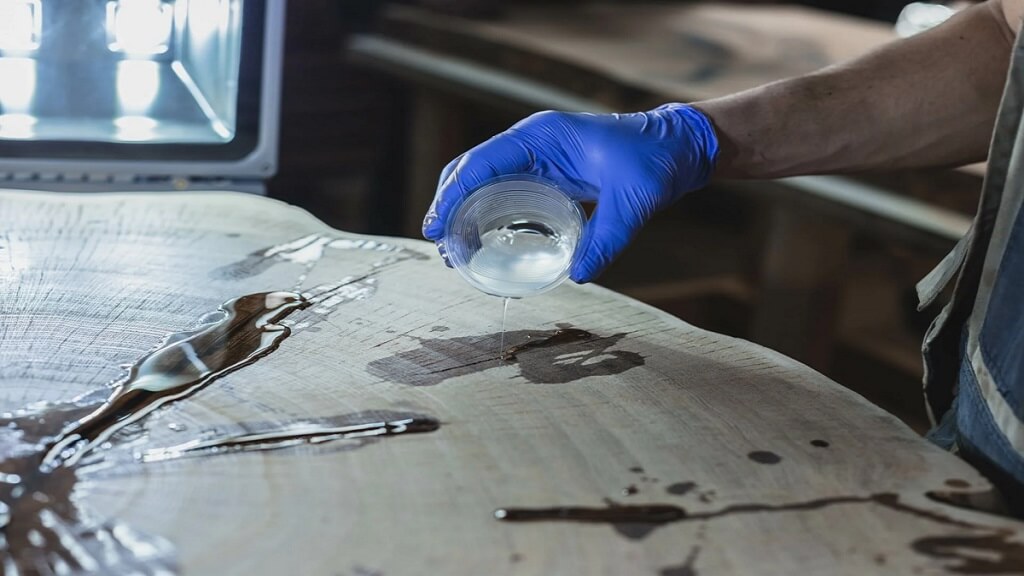
Resin curing isn’t an on and off event. It moves through five distinct stages, and knowing where your piece sits in that progression tells you far more than the clock does.
- Liquid is the freshly mixed or just-poured state. Fully workable, inclusions can be placed and adjusted freely.
- Gel stage is when the resin has thickened enough to resist movement. Surfaces can no longer be leveled, and inclusions will hold their position. The chemistry is still very active at this point and the piece is fragile. Do not attempt to move it.
- Tack-free means the surface no longer sticks to your fingertip on light contact. This stage is often mistaken for nearly done. It isn’t. The interior may still be significantly softer than the surface, especially in thicker pours.
- Demold stage is when the piece is firm enough to remove from its mold without warping or leaving impressions. It is not at full hardness yet. Handle carefully and avoid any surface finishing work at this point.
- Fully cured is when the resin has reached its maximum hardness and mechanical strength. The piece is ready for sanding, drilling, polishing, mounting, or any downstream work.
The distinction between demolding and fully cured matters more than most beginners realize. A piece that releases cleanly at 24 hours may still be at 65 to 75% of its final hardness. Sanding or polishing at that stage risks scratching a surface that hasn’t fully set, and those scratches are considerably harder to correct than they would be on a properly cured piece.
How Long Does It Take for Resin to Harden, According to Their Types?
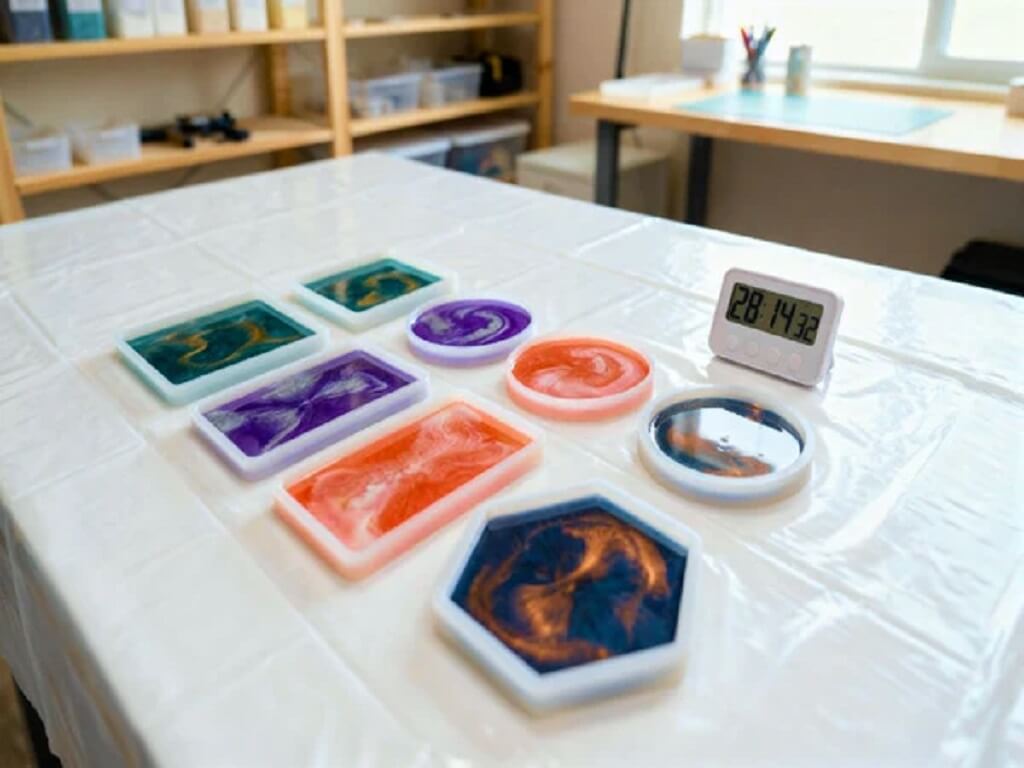
This is the core question, and the answer changes depending on the resin. Epoxy, UV resin, and polyester resin each cure through a different mechanism, which is why comparing them on a single timeline doesn’t work. Here is how they sit against each other across every stage.
| Resin Type | Working Time | Tack-Free | Demold Time | Full Cure |
| Epoxy resin | 20 min to 2 hours | 8 to 24 hours | 24 to 48 hours | 3 to 7 days |
| UV resin | Unlimited (until UV exposure) | 30 seconds to 5 mininutes | Immediately after curing | Same session |
| Polyester resin | 5 to 15 minuntes | 1 to 3 hours | 2 to 4 hours | 24 to 72 hours |
How long does epoxy resin take to harden?
Epoxy is a two-part system, resin and hardener, that cures when the two components are combined and undergo an exothermic chemical reaction called cross-linking. Standard formulations reach a tack-free surface between 8 and 24 hours, and most pieces can be safely demolded between 24 and 48 hours.
The important distinction to hold onto: demolding and full cure are not the same milestone. A piece firm enough to handle at 24 hours may still need another 3 to 5 days to reach its final hardness and full chemical resistance. For purely decorative pieces this rarely causes problems, but for anything being sanded, polished, or used functionally, working on it before full cure consistently produces worse results.
Deep pours add another layer of complexity. When a large volume of epoxy cures, the exothermic reaction generates heat from within. In a thick pour, that heat is trapped internally, which can accelerate curing in the core while the outer layers are still catching up. The result is uneven cure rates across the piece. This is precisely why deep pour epoxy formulations use a slower-reacting chemistry, not because manufacturers are being cautious, but because the slower reaction generates less peak heat and produces a more structurally consistent result throughout the entire mass.
How long does UV resin take to cure?
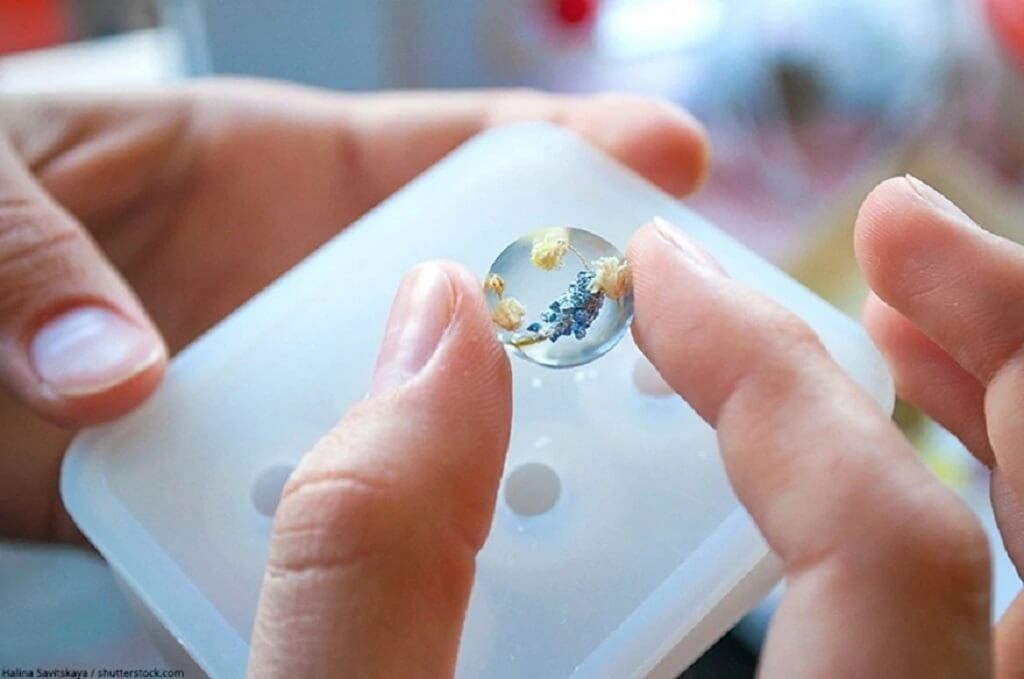
UV resin cures in a matter of seconds to a few minutes, making it by far the fastest option available for small-scale work. How fast UV resin cures depends on three things: lamp power, layer thickness, and the color or opacity of the resin itself.
Lamp power and wavelength matter significantly. Most UV resins are formulated to respond to light in the 365 to 405 nm range. A low-wattage lamp, or one that doesn’t adequately cover that wavelength band, will produce inconsistent or incomplete curing regardless of how long the exposure runs. For reliable results, a lamp rated at 36W or higher in that wavelength range is the practical minimum.
Layer thickness is the other major constraint. UV light penetrates only a few millimeters into resin, typically 2 to 3 mm for clear formulations. Layers poured deeper than that will cure on the surface while remaining soft underneath. The correct technique is to cure in thin layers sequentially and build up to the desired depth rather than pouring the full amount at once.
Resin color and opacity also play a role. Clear UV resin cures fastest because light passes through with minimal interference. Pigmented or opaque UV resin absorbs or scatters the UV wavelengths, significantly extending the time needed for a complete through-cure. Heavily pigmented work sometimes requires multiple lamp passes even at adequate power.
One practical note worth adding: UV resin stays fully liquid until it’s exposed to UV light, which means there’s no working time pressure. You can take as long as you need to position, adjust, and refine your piece before committing to the cure. That combination of unlimited working time and near-instant curing on demand is what makes UV resin the preferred choice for detailed small-scale work.
How long does polyester resin take to cure?
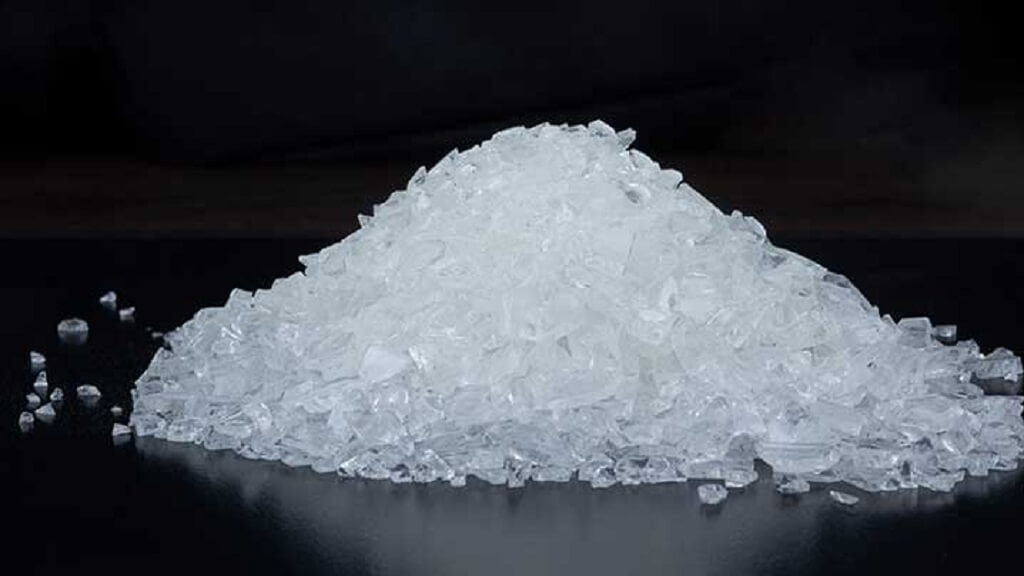
Polyester resin cure time is faster than most people expect. A small amount of catalyst, typically MEKP (methyl ethyl ketone peroxide), is added to the resin and triggers a chain reaction that generates heat and drives rapid curing. Polyester typically gels within 10 to 20 minutes, reaches demold hardness in 2 to 4 hours, and achieves full cure within 24 to 72 hours.
The catalyst ratio is the single most critical variable in the polyester curing process, and it is not something you can adjust freely. The manufacturer’s recommended ratio, typically between 1% and 2% by weight, has been calibrated to the specific resin formulation to produce a controlled, structurally sound cure. Here is a note:
- Adding more catalyst does accelerate the reaction initially, but above a certain threshold it generates excess heat, introduces shrinkage, causes cracking, and can produce permanent surface tackiness in areas that overcured and then degrade.
- Adding less catalyst produces a slow, incomplete cure that may leave the piece permanently soft. The ratio is a specification, not an estimate.
What Actually Affects Resin Cure Time?
Every figure in any cure time table assumes standard conditions that rarely match a real workshop environment. These are the factors that most meaningfully move those timelines in practice.
Room temperature
Resin curing is a chemical reaction, and chemical reactions respond directly to temperature. For epoxy, the commonly cited rule is that every 10°C (18°F) drop in temperature roughly doubles the cure time. A piece that cures correctly in 24 hours at 23°C may take 48 hours or more in a cold workspace at 13°C, and in conditions below about 15°C, some formulations may never fully cure regardless of how long you wait.
Most resins perform best in a working range of 20 to 25°C (68 to 77°F). Above 35°C, the reaction can accelerate too quickly, generating excess bubbles and increasing the risk of yellowing, particularly in epoxy.
Pour depth and project size
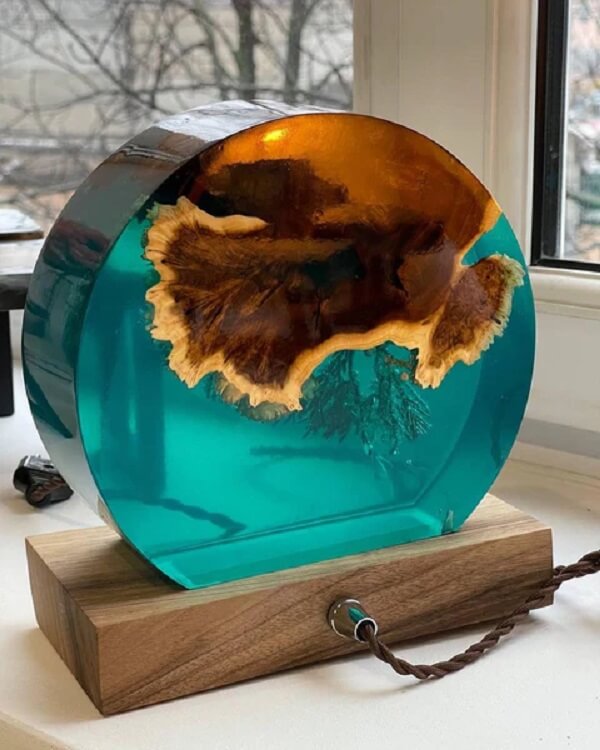
Thin pours such as jewelry, coasters, and shallow decorative trays follow manufacturer timelines closely. The thin mass generates minimal heat, and whatever heat is produced dissipates easily into the surrounding air.
Thick pours behave differently. A deep lamp base, for example, traps the heat generated by the exothermic reaction, raising the internal temperature of the curing mass well above the ambient room temperature. This accelerates curing in the core while the outer layers may still be in the gel stage, a mismatch that can produce cracks, cloudiness, or stress fractures if the temperature differential becomes too large.
For any pour deeper than about 2 to 3 cm, using a purpose-formulated deep pour epoxy is not a preference. Standard epoxy formulations are not designed to handle the thermal load of a large mass pour.
This is why professional pieces like our handmade epoxy resin lamps are cured under strictly controlled chamber temperatures to guarantee absolute structural integrity.
Mixing accuracy (epoxy)
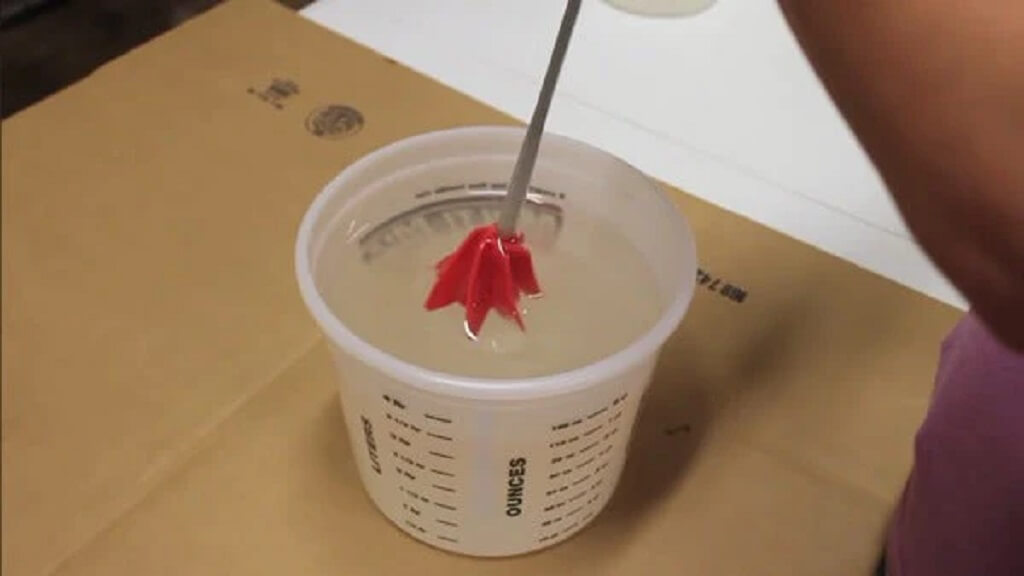
Epoxy is formulated to cure correctly at one specific mixing ratio, typically 1:1 or 2:1 by volume or weight depending on the product. Mixing off-ratio doesn’t simply slow curing. It leaves unreacted molecules in the cured material, excess resin or excess hardener that had nothing to bond with, producing areas that remain permanently soft, tacky, or structurally weak.
This cannot be corrected by waiting longer. The cure chemistry is set at the moment of mixing. Measuring by volume is acceptable for most projects, but measuring by weight is more accurate, particularly for smaller batches where minor errors represent a larger percentage of the total. Scraping the sides of your mixing container and mixing thoroughly for the full recommended time, typically 3 to 5 minutes, both matter more than most beginners expect.
Reading a detailed guide on how to make a resin lamp can help you avoid these common mixing pitfalls.
UV lamp quality
The difference between a 9W nail lamp and a 48W professional UV lamp built for resin work is not just speed. It determines whether the piece cures properly at all. Lamp power, wavelength coverage, and the distance between the lamp emitters and your piece all affect cure quality. Pieces positioned at the edge of the lamp’s field rather than centered directly beneath the emitters receive significantly less effective UV exposure. For consistent results, keep work centered under the lamp and at the distance specified by the lamp manufacturer.
Catalyst ratio (polyester resin)
The catalyst ratio in polyester resin directly controls the pace of the chemical reaction but operates within hard limits in both directions. The manufacturer’s recommended range exists for structural reasons. Working at the upper end of that range in a warm environment will achieve the fastest reliable cure. Working outside it in either direction produces defects that cannot be corrected after the fact.
How to Tell When Resin Is Fully Cured
Cure time estimates are a starting point, not a verdict. The piece itself is always the more reliable indicator. Fully cured resin should show all of the following:
- Firm, rigid surface with no flex or give under moderate pressure
- No tackiness, with nothing transferring to a clean fingertip even on firm contact
- No indentation under light fingernail pressure
- Sands cleanly without gumming up abrasive paper
- Little to no chemical odor remaining
- Consistent hardness throughout, with the interior feeling the same as the surface when tested at an edge or cross-section
(If you are concerned about safety or ventilation during this stage, check out our guide on does epoxy resin smell for practical workspace tips.)
Can You Make Resin Cure Faster?
Yes, within the limits of the chemistry involved, and the method depends on the resin type.
For epoxy resin, raise the ambient room temperature to the upper end of the recommended range, around 23 to 27°C. Warming the resin and hardener bottles in a warm water bath for 10 minutes before mixing reduces viscosity and gives the reaction a slightly faster start. Fast-cure epoxy formulations are also available when project timelines genuinely require them. What doesn’t work is adding extra hardener. It disrupts the ratio and produces the defects described above, not a faster cure.
For UV resin, use a higher-wattage, purpose-built UV lamp. Cure in thinner layers rather than a single deep pour, and rotate or flip pieces partway through exposure to ensure all surfaces receive adequate UV coverage. Natural sunlight contains UV and can cure resin in a pinch, but the results are highly inconsistent due to cloud cover, angle variation, and seasonal UV intensity. A proper UV lamp is always the more reliable method.
For polyester resin, work at the upper end of the manufacturer’s recommended catalyst range in a warm environment. Temperature is the most legitimate lever available. Going beyond the recommended catalyst percentage causes more problems than it solves, including cracking, excessive heat, and structural defects.
Why Is My Resin Still Soft or Sticky?
Here is one of the most frequently asked questions for our team. To clarify your concerns, check the table below and see what your resin case is in. Hope it answers your question: How long does it take for resin to harden?
| What You Notice | Likely Cause | What to Do |
| Sticky surface, firm center. The top of your piece transfers to your fingertip or feels tacky, but the interior has hardened normally | Surface amine blush (a byproduct of epoxy curing in humid conditions), moisture contamination, or an under-mixed surface layer | Sand the sticky layer back with 220-grit paper once the interior is fully cured. Re-coat with a thin, properly mixed flood coat and allow to cure fully in a dry environment |
| Soft center, hard outer surface. The outside feels solid but pressing into an edge or cross-section reveals a soft, undercured interior | Exothermic heat trapped in a deep pour causing uneven cure rates; or, for UV resin, insufficient light penetration through the depth of the pour | For epoxy, leave the piece at room temperature and allow more time as the reaction is still progressing. For UV resin, the center likely cannot be recovered at this stage. Build in thinner layers on future pours |
| Rubbery piece overall. The entire piece bends or compresses under pressure rather than holding a rigid form | Off-ratio mixing in epoxy (too much resin relative to hardener); insufficient catalyst in polyester resin; or a UV resin piece that received inadequate total UV exposure | An incorrect ratio batch cannot be repaired. Strip back, clean the mold, and repour with accurate measurements. For UV resin, additional lamp exposure on a rubbery piece sometimes recovers partial stiffness but rarely achieves full cure |
| Uneven curing across the piece. Some areas are hard while others remain soft or tacky, with no consistent pattern | Temperature variation across the workspace; uneven UV lamp coverage; or insufficiently mixed resin that created pockets of off-ratio material | Move to a space with consistent ambient temperature. For UV resin, reposition under the lamp and extend exposure on softer areas. For mixing issues, prevention is the only real solution |
How Long Does It Take for Resin to Harden: FAQs
Can resin feel hard on the surface before it’s fully cured?
Yes, and this is one of the most common reasons for avoidable mistakes. Surface hardness develops well ahead of full structural cure, particularly in epoxy. A piece that feels solid at 24 hours may still be at 65 to 80% of its final hardness.
For decorative pieces this is often fine, but for anything being sanded, polished, or used functionally, allowing the full cure window before finishing work produces consistently better results.
How long should I wait before sanding resin?
For epoxy, wait a minimum of 24 hours before light sanding and ideally 48 to 72 hours before wet sanding or final polishing.
Sanding too early loads the abrasive paper with soft, gummy resin and introduces scratches that are difficult to correct on a surface that hasn’t hardened evenly.
UV and polyester resin can generally be sanded within the same session or within a few hours respectively, once full cure has been confirmed.
Can cold weather stop resin from curing?
Yes. Below approximately 15°C (59°F), most epoxy formulations slow dramatically and some may not achieve a complete cure at all. Moving an affected piece to a warm environment early in the cure cycle, before the gel stage has fully set, can sometimes recover it. Attempting to warm a piece that has already gelled improperly produces inconsistent results and usually doesn’t correct the underlying issue.
Does thicker resin cure faster or slower?
It depends on the type. Thick epoxy pours generate more internal exothermic heat, which can accelerate curing in the core but creates structural risks including cracking and cloudiness from uneven cure rates.
UV resin cures slower when poured thickly because the UV light cannot penetrate deep layers. Polyester resin in large masses generates significant heat and can cure quickly at the center while the edges still lag.
Why does UV resin cure so much faster than epoxy?
Different trigger mechanisms. UV resin uses photoinitiators, compounds that activate near-instantly when struck by UV light, to start a rapid chain reaction. Epoxy’s cross-linking reaction between resin and hardener is a slower process that plays out over hours. The tradeoff is scope: UV resin is limited to small, shallow applications, while epoxy handles large and deep pours that UV light could never fully penetrate.
Is polyester resin faster than epoxy?
Generally yes. Polyester resin cure time is faster across the board, reaching demold hardness in 2 to 4 hours and full cure within 24 to 72 hours compared to standard epoxy’s 24 to 48 hours to demold and 3 to 7 days to full cure.
However, polyester has a much shorter working time (5 to 15 minutes versus 20 minutes to 2 hours for epoxy), a stronger and more hazardous odor, less optical clarity in the final cure, and considerably less tolerance for ratio errors.
For decorative casting work where clarity and working flexibility matter, epoxy remains the preferred choice for most makers despite the longer cure time.
Our Final Thoughts
Resin curing is chemistry, not guesswork. Once you understand what each resin type actually needs, the right temperature, the right ratio or catalyst amount, and the right exposure conditions, the timelines become predictable rather than frustrating. The variables covered here account for the vast majority of curing problems that come up in practice. Get these right, and the waiting becomes the least complicated part of the process.
